
Your event will be set up with a choice of email templates populated with messages for each relevant function. Read on to find out how to amend the messages.
The guidance below is for event administrators/ organisers. If you are an end user (eg. submitter, reviewer, delegate etc), please click here.
Go to Event dashboard → Emails → Edit and send → Abstract Management
You will see a list of template emails (listed under Automatic and Manual) for the event. Click on the name of the email you wish to view/amend.

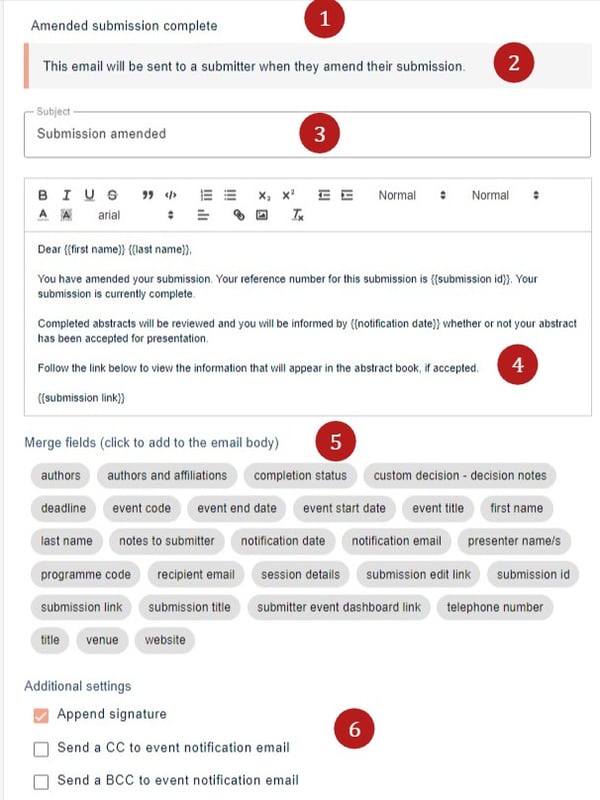
The email template will be displayed. Within the template, you can see
1) The name of the email template
2) Recipient group and function
3) The subject line of the recipent's message, which you can edit to your requirements.
5) Merge fields
7) Attachments

NB: Any changes to the template are saved automatically.
Changing the body of the message
As well as changing the text, you can merge other information from the event or submission by clicking on the relevant option in the Merge Fields section.
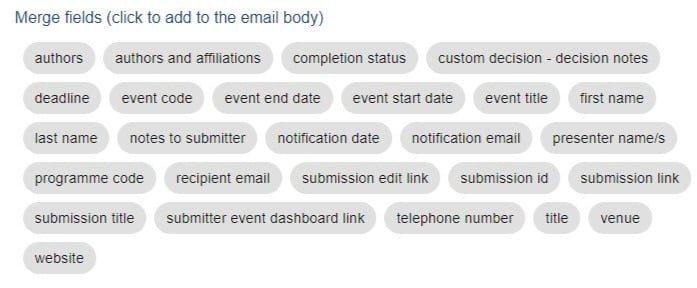
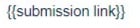
Simply click on the chosen merge field to include in the body of the email. You will see that there are a few included in the body of the email - submission id, notification date, and submission pdf link. Each merge field is contained within the following brackets:
These merge fields will take the relevant data from each submission so that each email is specific to the given recipient.
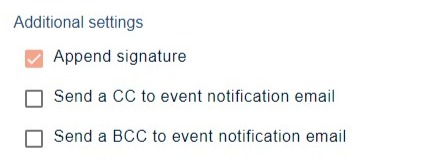
Additional settings
To append your signature or send a CC, or BCC (copy) to the event notification email address, ensure the relevant boxes are ticked. To turn off these features, untick the relevant box(es).
Attachments
One or more attachments can be added to an email. Click UPLOAD ATTACHMENT in the Attachments section to locate and add an attachment to the email. Repeat this process to add multiple attachments. Click DELETE next to any attachment to remove it from the email.
