The guidance below is for event administrators/ organisers. If you are an end user (eg. submitter, reviewer, delegate etc), please click here.
NB: You can also send emails straight from the delegate table: See How to email from tables.
It is recommended that you look at the general Email guidance before reading this article.
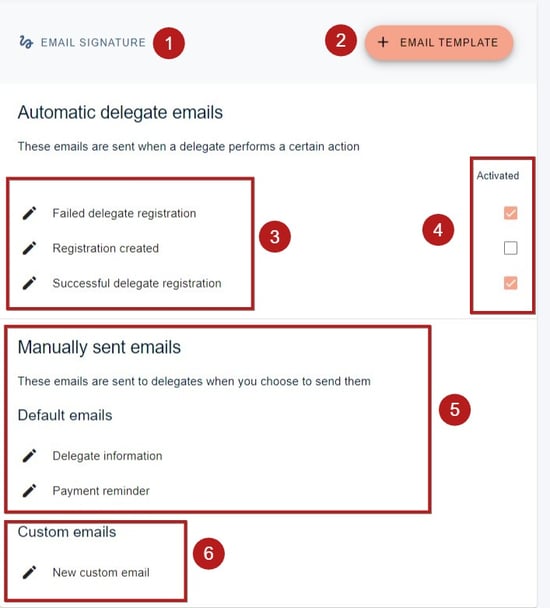
Go to Event dashboard → Registration → Delegate emails
You will see a screen very similar to the general email tool, with automatic and manual emails and the option to create a new template.
1) Click here to create an email signature that will appear on all of your delegate emails.
2) Create a new email template (NB - you can only create manually sent emails)
4) Use these checkboxes to activate or disable the automatic emails
6) Custom emails that you have created by clicking 2) above.
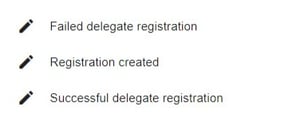
Automatic emails
The options are, from top to bottom:
- Sent to any registration that fails - eg through issues with payment.
- Sent to any registration that has been created, but not completed - for example, they have not completed all fields, or submitted payment.
- Sent to any registration that has been submitted and paid for.
Click any link to view and amend.
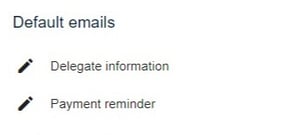
Manual emails
From top to bottom:
- For sending out information about the delegate
- Sent to delegates who have been invoiced, but have not paid
Click any link to view, amend, send or schedule.