
Please Note: This article is for Administrators only!
You either watch the below video for a walkthrough on what to do or scroll down and follow the written instructions.
You can make the following amendments without changing the order number:
- Change Tickets
- Add/remove Tickets
- Add/remove Add-ons
- Request Payment
- Issue a Refund
Skip to:
How to Make an Amendment
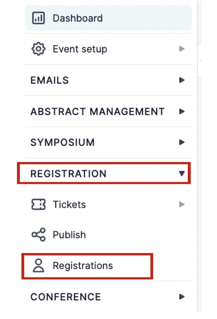
From your dashboard, click on Registration on the left-hand column and then click Registrations.
Next, find the attendee you want to change the order of by using the search bar at the top of the table or scrolling through the table.
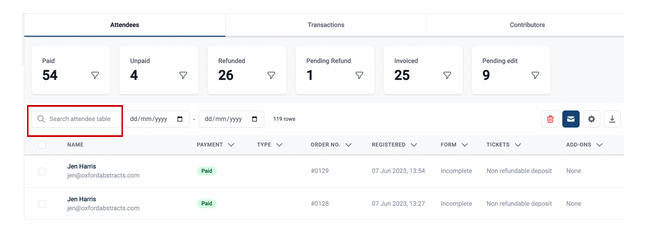
When found, click on the row of the attendee order.
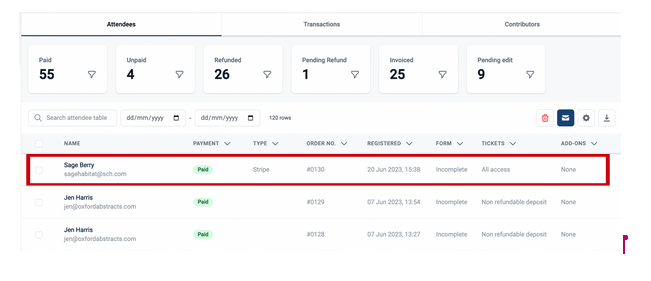
A panel will appear to your right.
Click the three dots at the top right of this panel and select Edit Order.
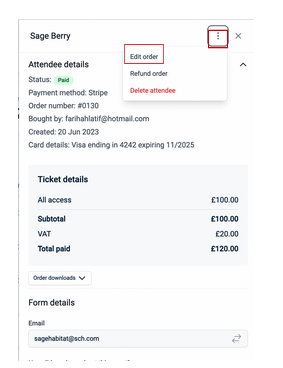
You will now see what tickets belong to the ticket holder.
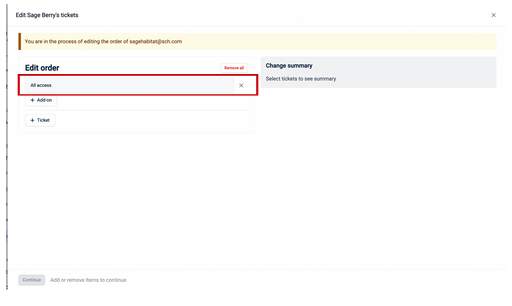
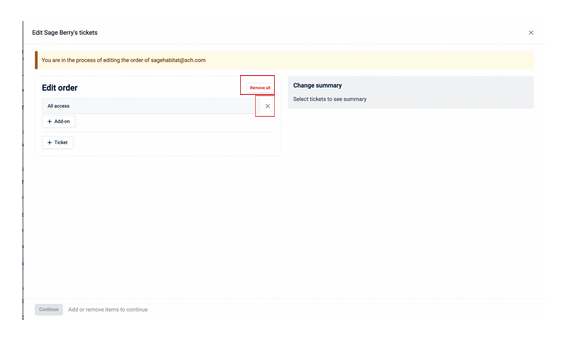
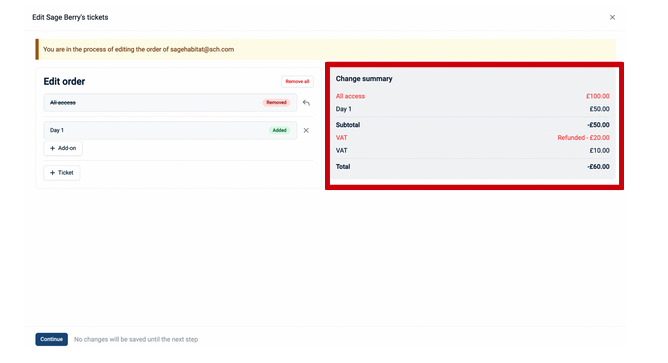
You can either “remove all” tickets the holder currently has, or you can individually edit whichever ticket or add-on you want to remove by clicking on the X next to the ticket.
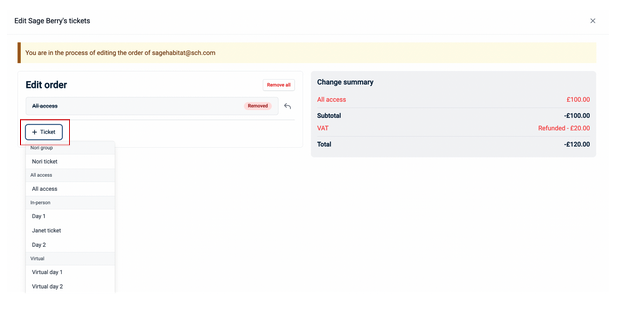
You can add Tickets by clicking the +Ticket button and selecting which ticket needs to be added from the drop-down menu.
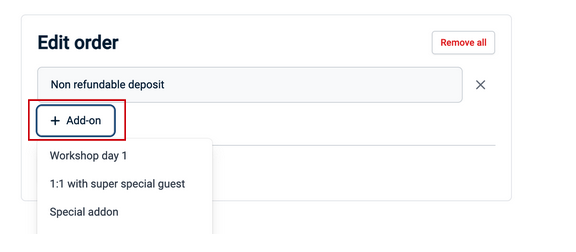
If you need to add an “add-on” to a specific ticket, select the +Add-On button under the correlating ticket and select from the drop-down menu.
When you make these changes, a screen to your right will appear, showing you the changes you are making and whether a refund or payment is required.
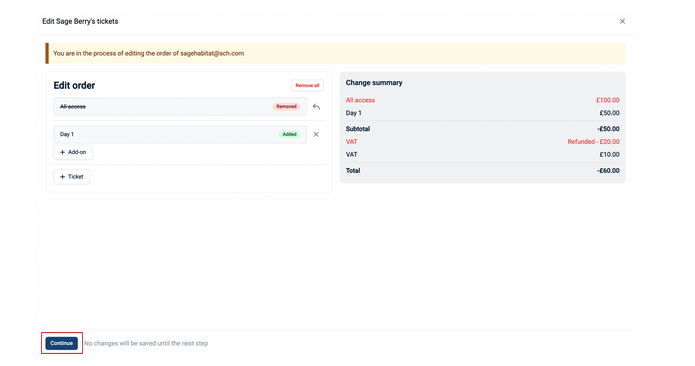
When you have completed your edits, click the Continue Button at the bottom left of the page.
Next, you will either need to refund an attendee or request further payment.
Refunding an Attendee
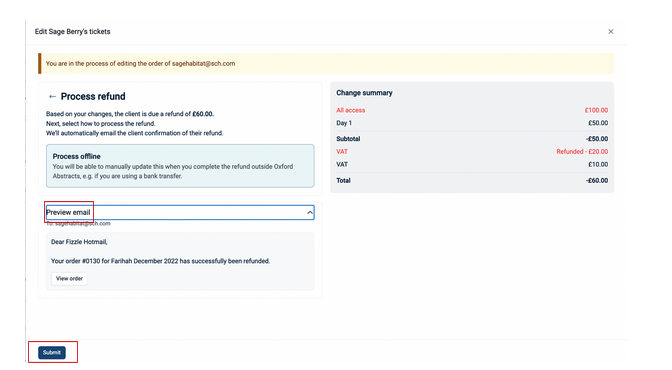
At the moment, you can only process refunds offline e.g. such as a bank transfer. When this is complete, you can manually update the table.
You will also be able to preview the email that will be sent to the attendee regarding any changes to their order.
When you have checked this, you can then click the Submit Button at the bottom left of the screen.
On the next screen, the status at the top of the side panel will have changed to Pending Refund, and on the main table under the payment column, you will see it says Amendment.
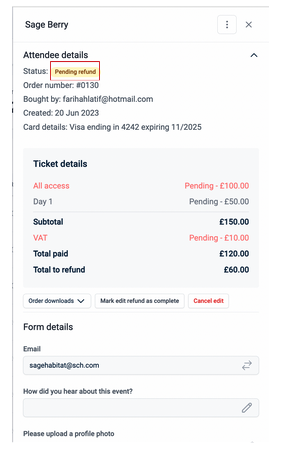
When you have issued the refund offline, you will go back into the order (complete the steps at the beginning of this article to find the correct attendee) and select Mark edit refund as complete button on the right-hand panel.

You will then see the status has been updated to Paid on the right-hand panel and on the main attendee table.
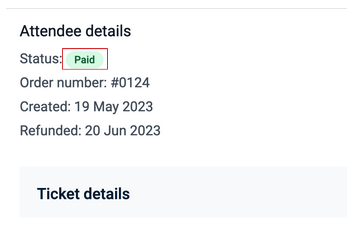
The attendee will receive another email to say they have been issued a refund.
Making an amendment and requesting payment
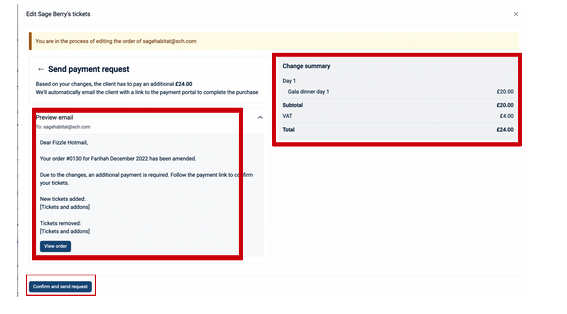
If you have made an amendment for an attendee and they now owe you money, on the screen, you can review your changes and preview the email that will be sent to the attendee.
When happy, click on the Confirm and Send Request Button at the bottom left of the page.
While waiting to receive payment, the panel will show “Pending Payment”.
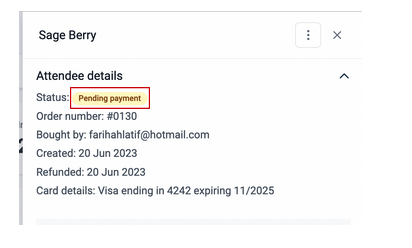
The attendee can either click the payment link in the email they have received or log into their dashboard to follow the payment instructions and pay the outstanding balance.
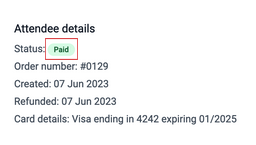
When the balance has been paid, on the attendee table, you will see under the payment column that it will now say “paid”.
If you need further assistance, please get in touch with our Customer Support Team via the Contact Form.