
This information is for Admins ONLY!
You can either watch the video below for a step-by-step walkthrough or scroll down to follow the written instructions.
Skip to:
Edit/Arrange the Attendee Table
Download information as a CSV file
How to change the name of a ticket holder
How to View the Attendee Table
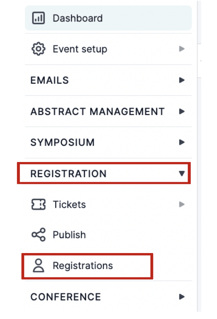
From your main dashboard, go to the left-hand column and click on Registration and then click Registrations.
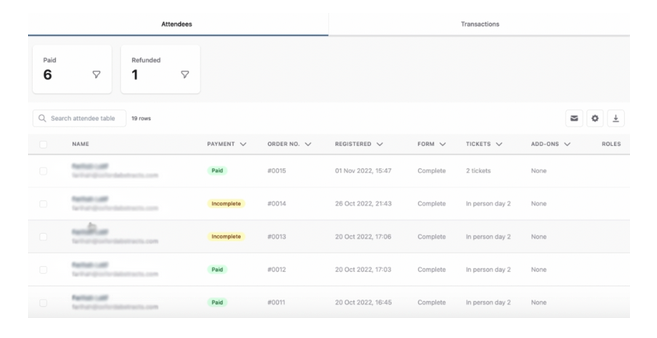
This table will show you details for every attendee that has a ticket to your event.
It also includes the following information:
- Whether they have paid or not
- When they registered
- If they have completed a form
- How many tickets they have bought and what type of ticket
- If they have purchased any add-ons
Arrangement of the Attendee Table
You can now lock the first left-hand column in place so you can scroll along the table and view the other columns without losing the first column.
To lock the column in place, click on the arrow to the right of Name at the top of the column.

A drop-down menu will appear.
From this menu click on Stick to Left to enable that column to stay where it is.

Instead of scrolling along the many columns/information on the table, you can select which columns/information you would like to appear.
You can select what Ticket Data, Payment Data and What Questions from the delegate registration form should be shown on the table.
To do this, from your attendee table click the Column button at the top right of the table.

A drop-down menu will appear.
From this drop-down menu, you can tick the boxes next to the information you would like shown on the table.
If you wish to hide certain information make sure there the box is unticked (as shown in the image below).

Scroll down the menu to access the Payment and Question Answers you would like to include on the table by clicking on the arrow next to them and then ticking the relevant boxes.

View Attendee Information
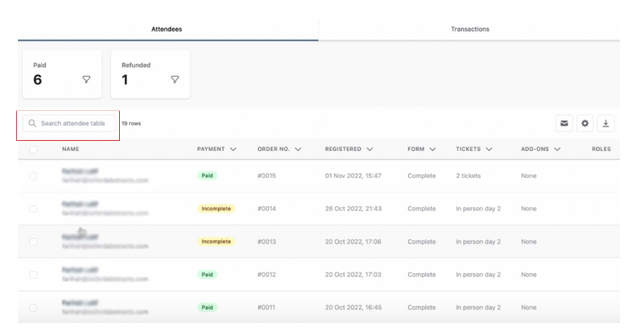
To search for a particular attendee you can use the Search Attendee Table search box at the top left of the table.
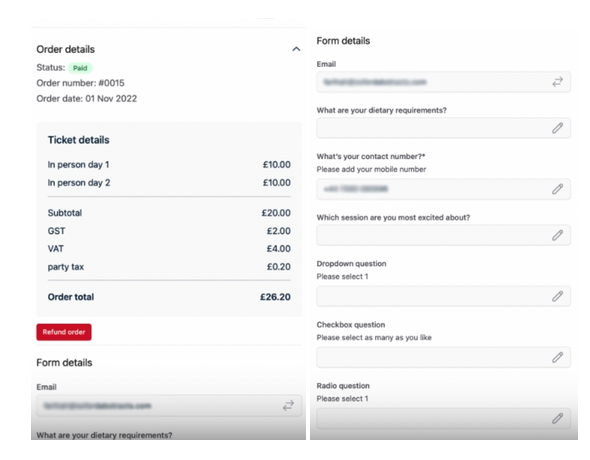
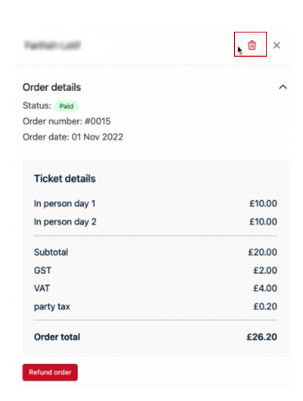
To view all information about a particular attendee, you click on their row, and the following screen will bring up all the information they have inputted.
For example:
- The tickets they’ve purchased
- The cost of the tickets including Tax breakdown
- Questions they have answered from the form
- Their contact details
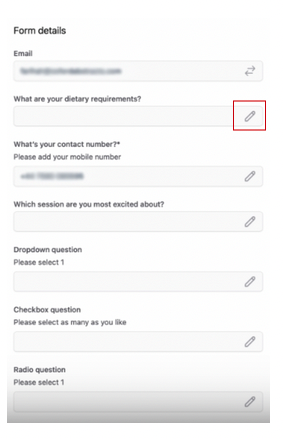
How to edit Attendee Information
You can also edit these responses if necessary.
For example, you have been in touch with an attendee to confirm their dietary requirements, and they missed something off the form.
You can go into the box and add the missing information by clicking on the pencil to the right of the box.
When complete - click Save at the bottom of the screen.
Delete Attendees / Restore Deleted Attendees
If you need to delete an Attendee, then click on their row from the table.

On the next screen click on the red bin at the top right of the screen.
A box will appear asking you to confirm you want to delete the attendee, click Yes delete Attendee.
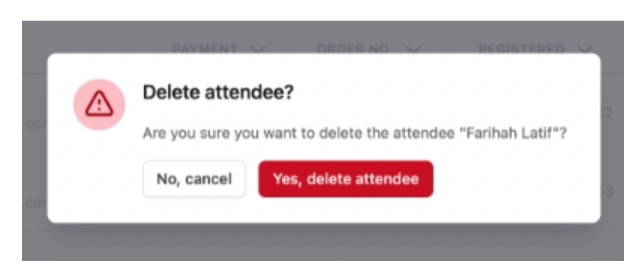
Your attendee will now be removed.
If you wish to reinstate your attendee, from the dashboard click on the Settings button (cog wheel) at the top right of the page, and select View Deleted.
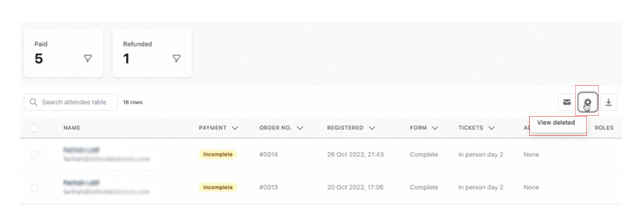
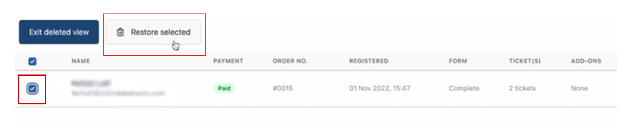
The next screen will show you all those that have been deleted.
Tick the box next to the attendee name you wish to restore and click the Restore selected button at the top-left of the screen.
Your attendee has now been restored and added back to the attendee list.
Email Attendees
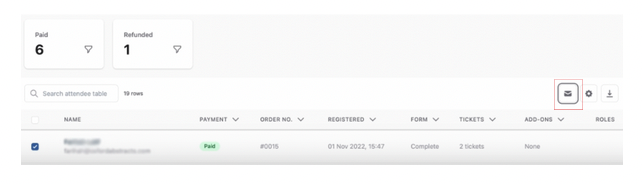
To email attendees, from the dashboard tick the boxes next to the names of attendees you wish to contact.
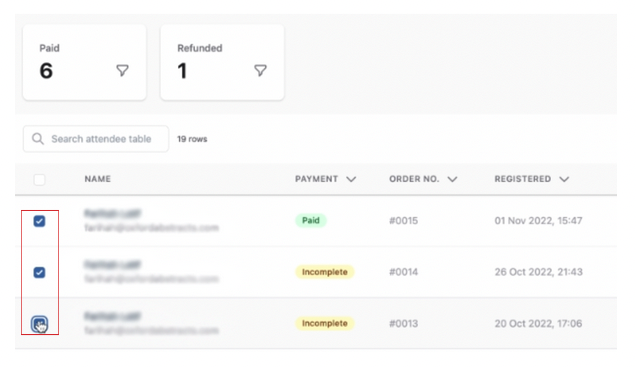
Then click on the Email Button (envelope) on the top-right of the table.
On the next screen, you can check you have included all the attendees you wish to contact - search and add any you missed with the search bar and click Create New Email.

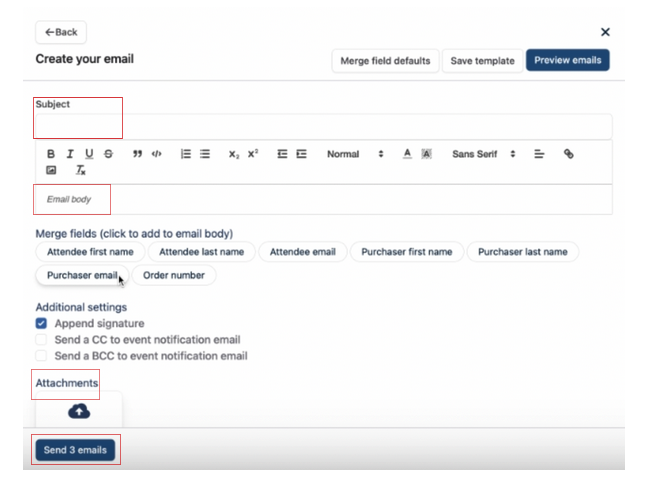
From this screen, you can create your email and include:
- Merge fields
- Subject line
- Email body
- Add signature and attachments.
When you have finished creating your email you click on Send Email button at the bottom left of the screen.
Download data as a CSV file
From the dashboard click on the download arrow button at the top right of the table, to download all the information from the attendee table.

NB: Change the name of a ticket holder
If a ticket has been purchased on behalf of someone else but the name of the ticket holder needs to change, then the person that has the ticket will need to create an Oxford Abstract account, and the name will automatically change on the ticket which will be visible on the attendee table.
Payment Statuses Meaning
Paid: order is fully paid.
Partially paid: order amended and awaiting payment from attendee.
Pending payment: attendee has been invoiced and hasn't paid yet.
Or the attendee has abandoned cart. For such order, there will be no payment type.
Pending refund: order amended and awaiting refund.
Refunded: order has been fully refunded.