
The guidance below is for event administrators/ organisers. If you are an end user (eg. submitter, reviewer, delegate etc), please click here.
Go to Event dashboard → Event Setup → Event theme
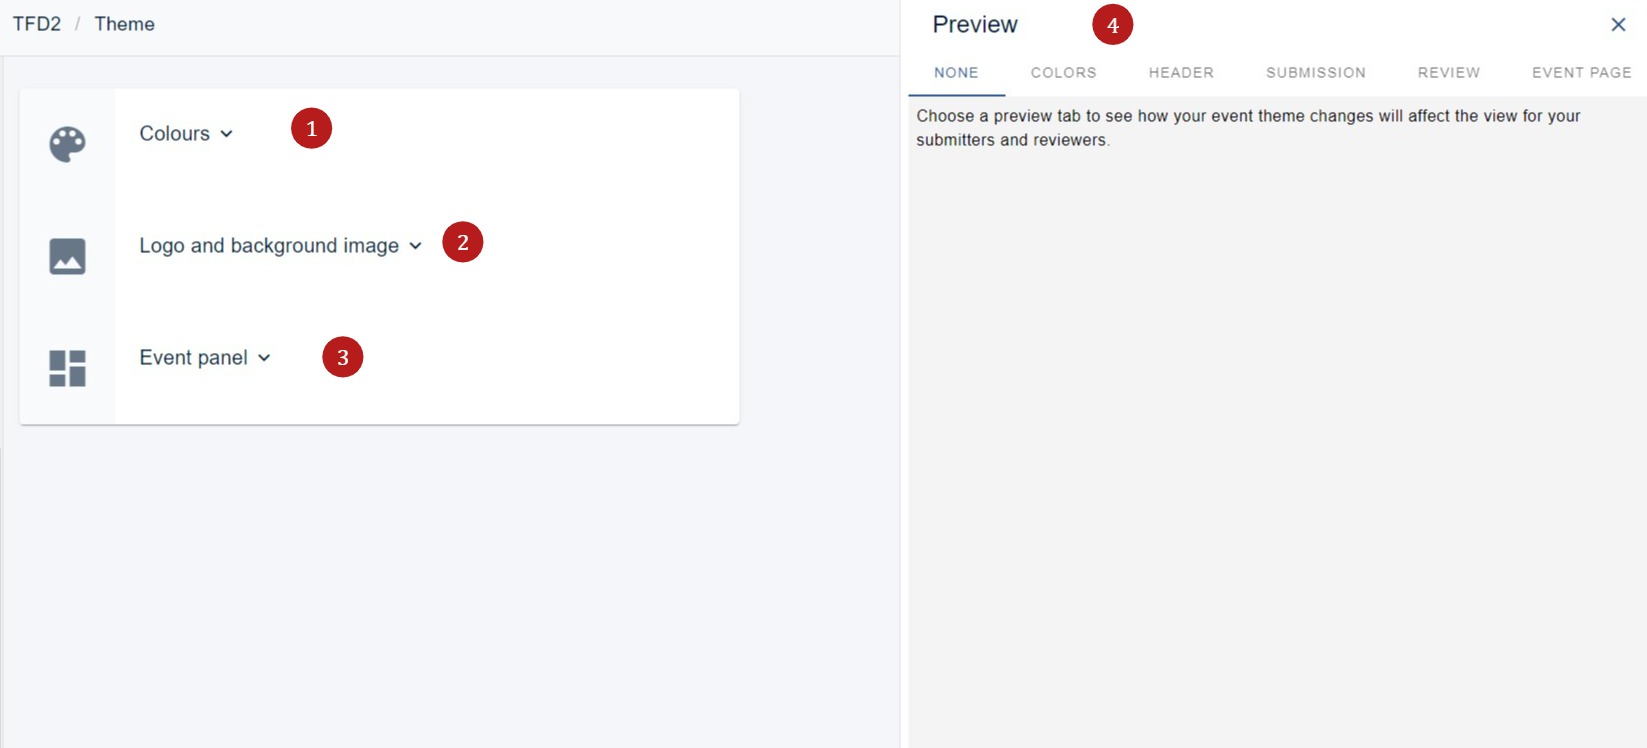
The Event theme panel will be displayed. You can add 1) Colours, 2) Logo and background image and 3) an event panel
4) gives you a preview of where your choices will appear throughout the event.
NB: If you are using the Delegate Registration module, the choices will also appear on the delegate registration form.
1) Colours
If you pick Choose program colours, the options will be displayed. There are three options - Primary, Secondary and Background. Take a look at the preview to see where these will be displayed.
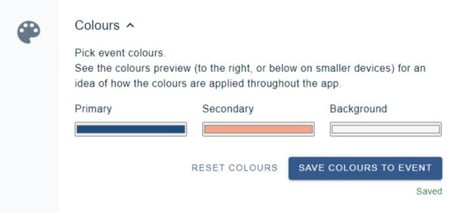
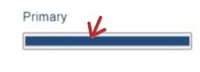
To set your colours, click in each colour bar.
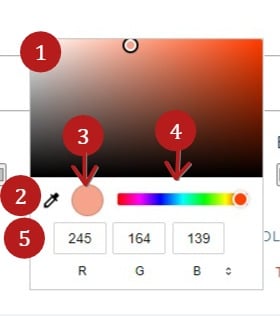
1) Move the cursor round to pick your colour
2) Use the pipette to hover over a colour to pick
3) Current colour
4) Move the cursor to the left to change the colour range in 1)
5) Enter RGB codes.
Ensure you click Save to event to retain your choices.
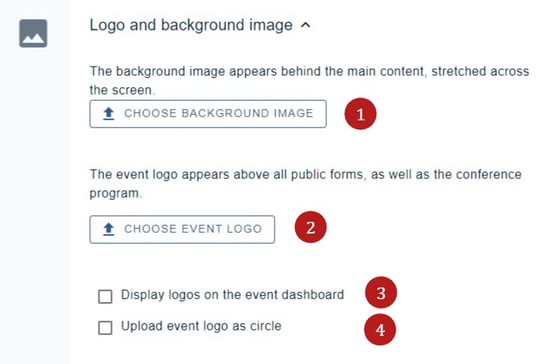
2) Logo and background image
1) Choose an image that will displayed behind the content
2) An event logo- ideally 1:1 - eg, square or circle (this will override the logo added in event details.)
3) Check if you want the logo to appear on the event dashboard (ie, only seen by admin)
4) This will format an event logo as a circle
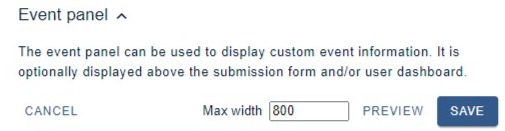
3) Event panel
This section allows you to create a branding presence on your forms. There are various optional fields. As you are adding information, click the preview button to see how it will be displayed.
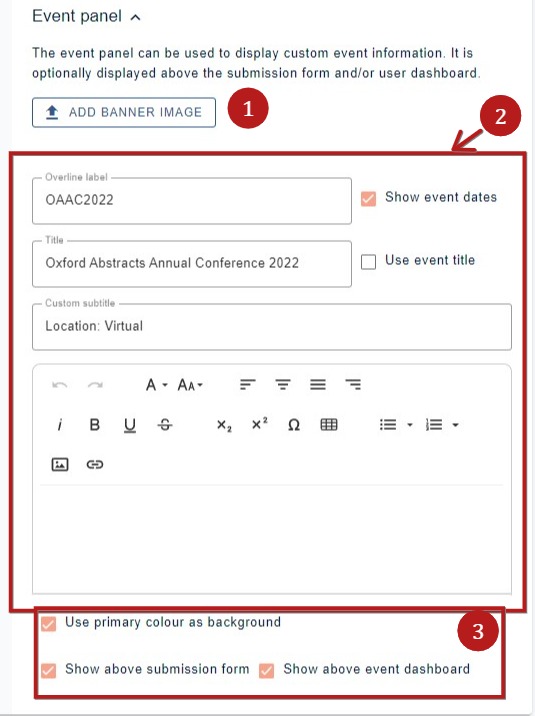
1) Add a banner image.(After adding an image, you wll be asked if you would like to set a maximum width for your image.) Click Save when you have uploaded your image.
2) Add the event details you wish to be displayed, with further checkbox options.
3) Additional display options.
Apart from the logo in this section, all changes will be saved automatically.