
The guidance below is for event administrators/ organisers. If you are an end user (eg. submitter, reviewer, delegate etc), please click here.
NB: Go to Event dashboard → Conference → Program ➞ Builder
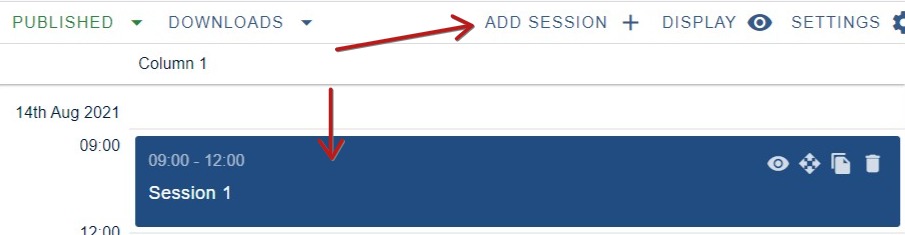
You can create a session by clicking on the default session or, to add a new session, click Add Session button.
NB: The default session will only show if you have added a start date in Event details.
.
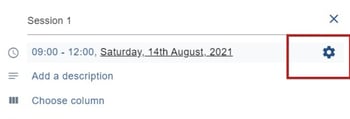
The session control panel will open up.
 |
2) Dates 4) Description 5) Column 6) Locations 7) Add tracks 10) Sponsors 11) Admin notes 12) Mark as a recommended session 13) Attach symposia |
NB: When you hover on some of these details, you will notice a settings icon. Click on this to access the Configuration settings.
1) Session name
Click in the field to add a name.
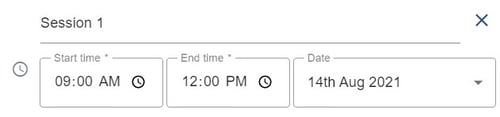
2) Dates
Click on Start time, End Time and Date to enter your choices
NB - the dates are automatically pulled from the event details.
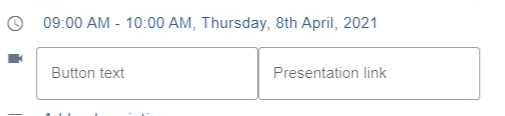
3) Presentation link
This field is for entering a video link.
Simply add the text you want to appear on the button, and the link itself.
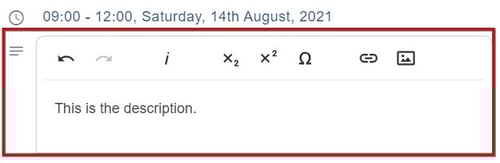
4) Description
Click to add a description.
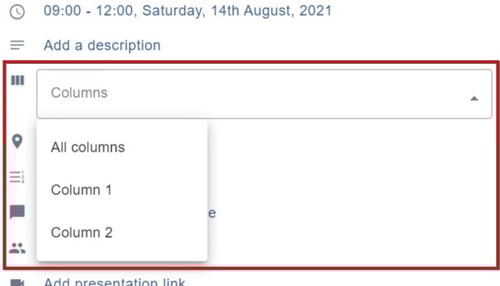
5) Column 6) Locations, 7) Tracks and 8) Presentation types
Make your choices from the dropdown menu. In all these cases, choose just one.
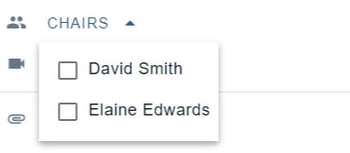
9) Session chairs
Make your choices - you can click on as many as you require.
11) Admin notes
You can add notes here - these will be seen by any other admin.
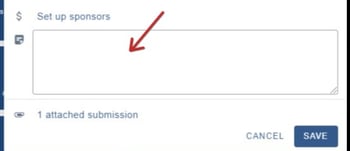
Ensure you click the SAVE button when you have made your changes.
