
Sending emails from your chosen email address
By default, all emails are from no-reply@oxfordabstracts.com but you can change this so that the emails come from your chosen email address. The reply-to address will always be the notification email you enter into the system.
Go to Event dashboard → Emails → Sender email
In the middle of the screen, you can enter the email address that you would like notification emails to be sent from. Please note the email needs to be from a domain that you have control over. Unfortunately @gmail.com or @yahoo.com addresses won't work because some of the large email vendors have policies disallowing third parties from sending mail from their domains.
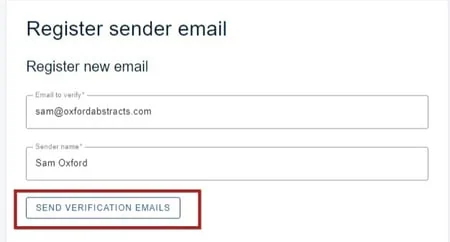
After entering the email and sender name, click SEND VERIFICATION EMAILS.
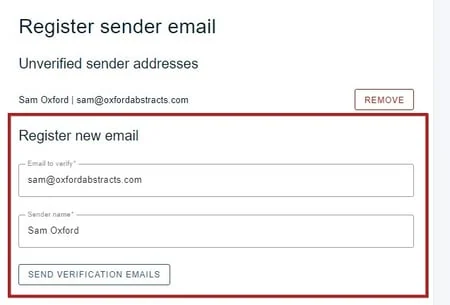
You can then overwrite the fields entered to add an additional address if you wish.
You should receive two emails - one from Oxford Abstracts and one from Postmark (our email service provider).
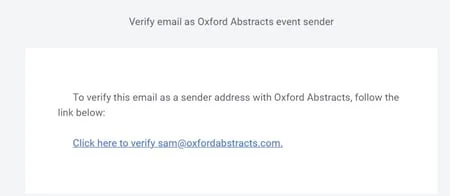
If you've previously registered the same email with a different event, you'll just receive the Oxford Abstracts email. Click on the link in the email.
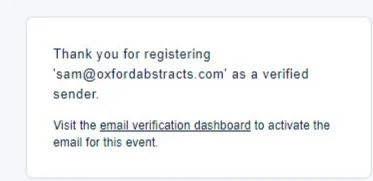
You will then see this message. Click on the underlined link to activate the email address.
You will return to the Verify email page and see that:
1) Your email address has been verified, so emails that are sent from the event will then reflect the changes.
2) Ensure your email is DKIM validated. To find out about DKIM & how to validate take a look at this article.
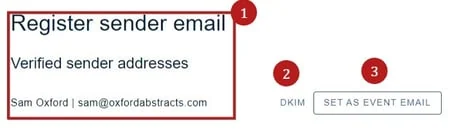
3) Click Set As Event Email, only if you would like this email address to replace the notification email in event details.
You can remove the verified email address at any point by going to Event dashboard → Emails → Sender email
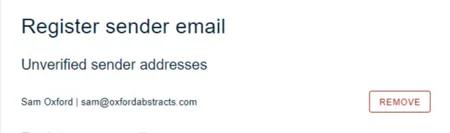
and clicking remove next to the relevant email address.
Common questions#
I want the emails that are associated with the event to be from an email address of my choosing. Is this possible?#
Yes. By default emails come from no-reply@oxfordabstracts.com, but you can change that.
Go to Event dashboard → Emails → Sender email and verify the address you want to use, as described above. You can remove a verified address from the same screen at any point.
Was this article helpful?
Contact supportRelated
Still stuck? Send us a ticket
Tell us what you're trying to do and one of our support team experts will come back to you promptly with the solution.